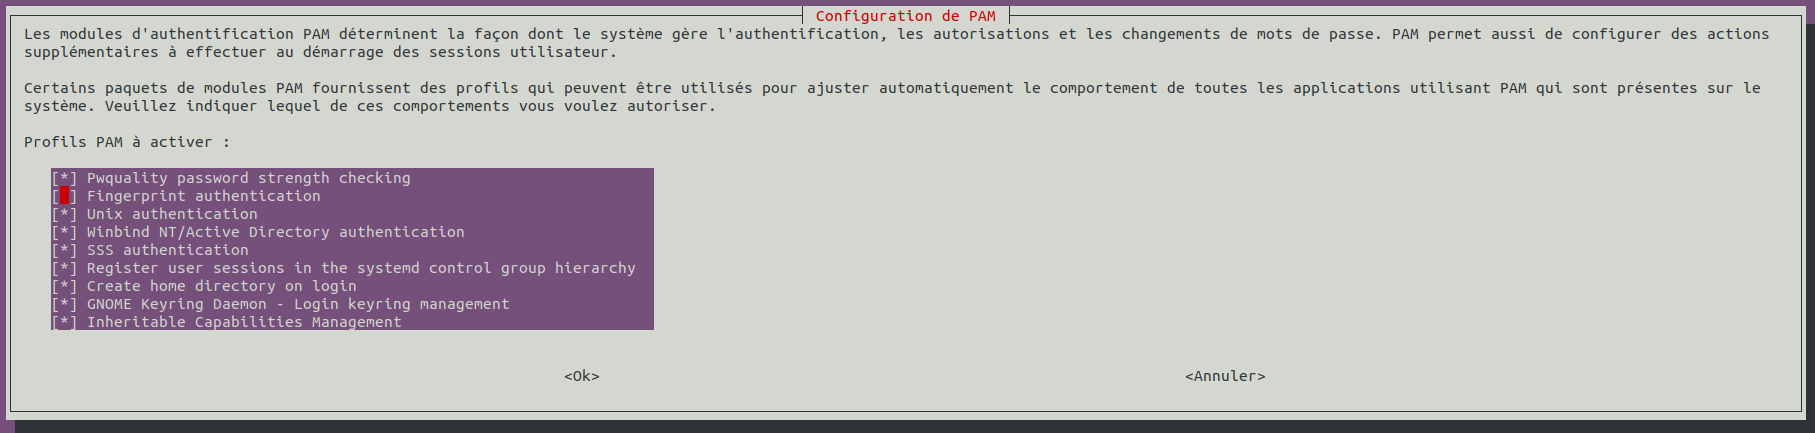
SSSD provides a set of daemons to manage access to remote directories and authentication mechanisms such as LDAP or Kerberos. It provides an NSS and PAM interface toward the system and a pluggable backend system to connect to multiple different account sources.
1
sudo apt install sssd-ad sssd-tools realmd adcli
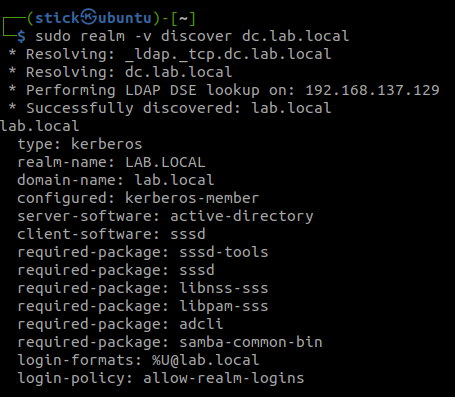
Discover the domain with realm
1
sudo realm -v discover dc.lab.local
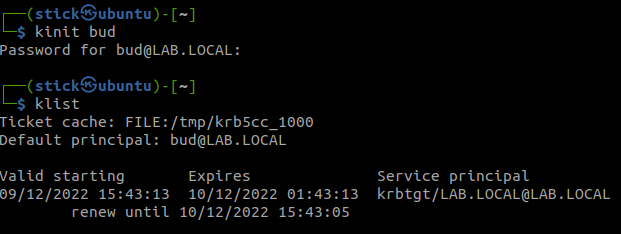
Join the domain with an admin account from your Active Directory
# Change this to the workgroup/NT-domain name your Samba server will part of workgroup = LAB security = ADS realm = lab.local kerberos method = secrets and keytab passdb backend = tdbsam encrypt passwords = yes
# server string is the equivalent of the NT Description field server string = %h server (Samba, Ubuntu)
#### Debugging/Accounting ####
# This tells Samba to use a separate log file for each machine # that connects log file = /var/log/samba/log.%m log level = 3 # Cap the size of the individual log files (in KiB). max log size = 1000
# We want Samba to only log to /var/log/samba/log.{smbd,nmbd}. # Append syslog@1 if you want important messages to be sent to syslog too. logging = file
# Do something sensible when Samba crashes: mail the admin a backtrace panic action = /usr/share/samba/panic-action %d
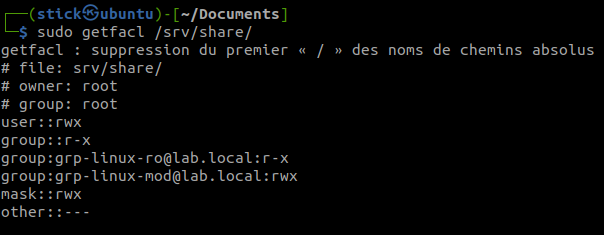
We want that other or everyone in Windows have no access to the share.
1
sudo setfacl -m other:--- /srv/share/
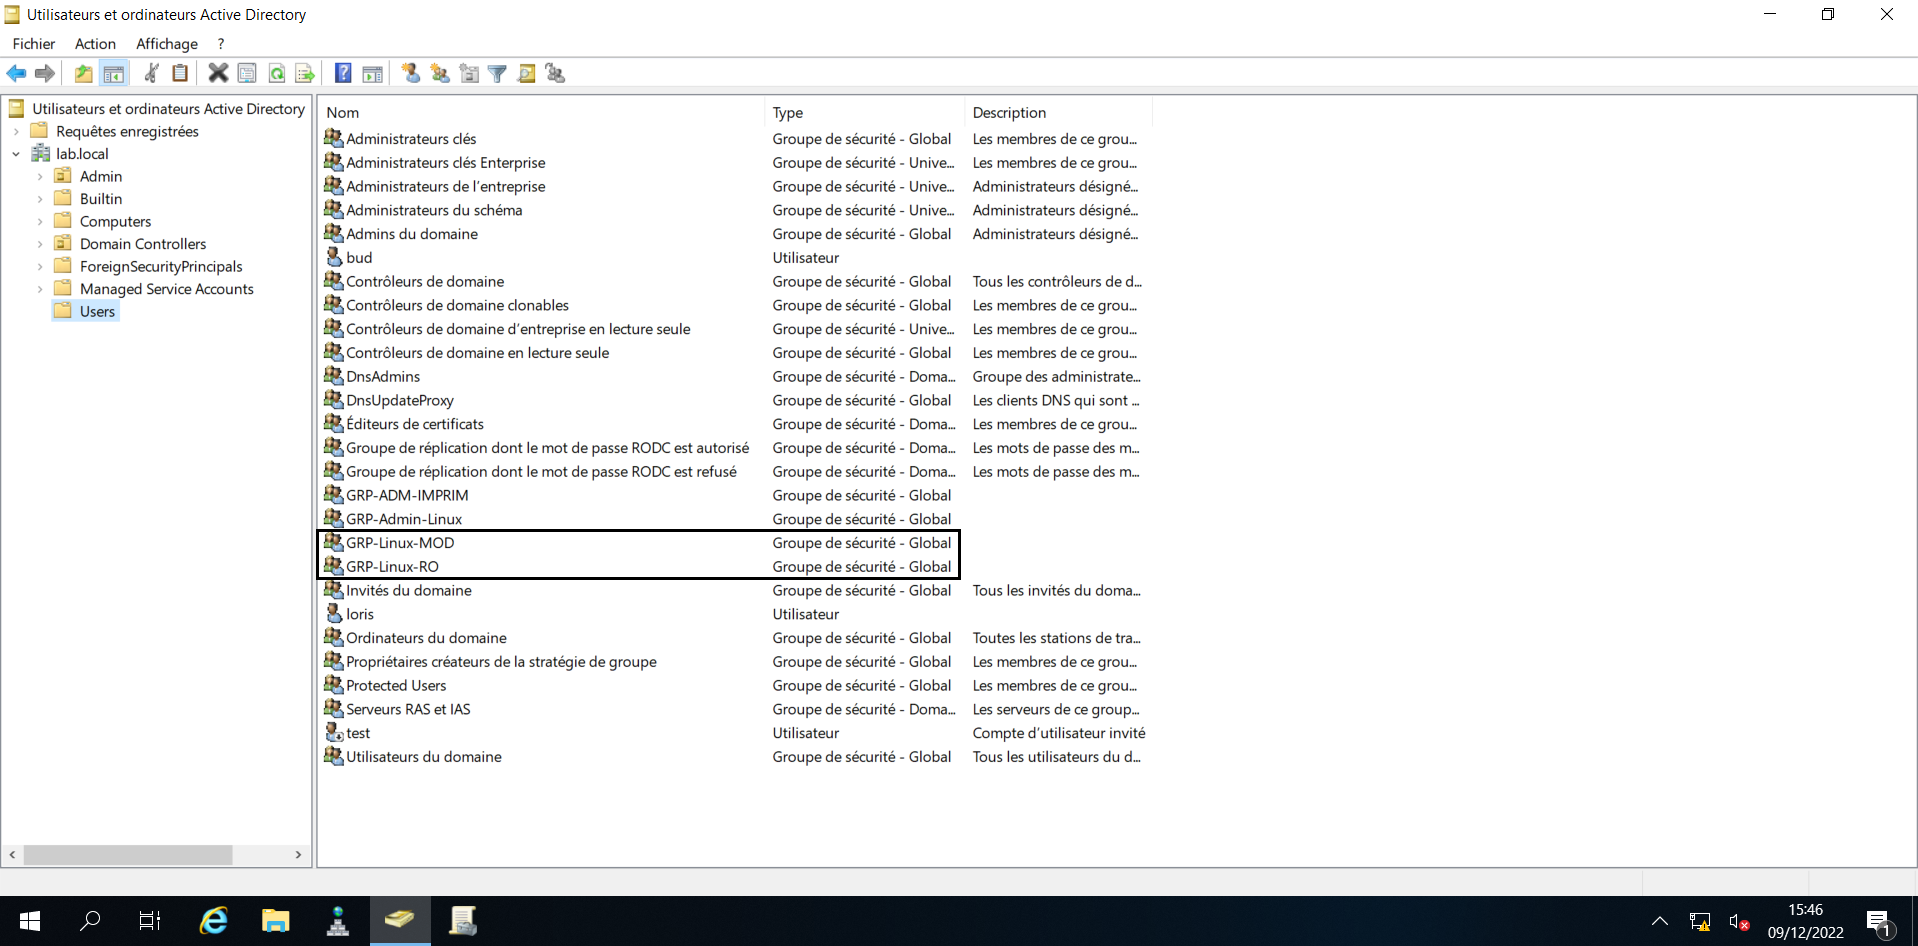
We want two groups :
The first can modify the documents
1
sudo setfacl -m g:GRP-Linux-MOD:rwx /srv/share/
The second in read only
1
sudo setfacl -m g:GRP-Linux-RO:rx /srv/share/
Check the result of the ACL on the share
1
sudo getfacl /srv/share/
Restart samba for the modification
1
sudo systemctl restart smbd
Now your share is good and you can access it with Kerberos from a domain computer with an account link with the active directory groups GRP-Linux-RO or GRP-Linux-MOD.
The Metasploit Project is a computer security project that provides information about security vulnerabilities and aids in penetration testing and IDS signature development.
It’s best-known sub-project is the open source Metasploit Framework, a tool for developing and executing exploit code against a remote target machine. Other important sub-projects include the Opcode Database, shellcode archive and related research.
The Metasploit Project is well known for it’s anti-forensic and evasion tools, some of which are built into the Metasploit Framework.
Installing Dependencies
We start by making sure that we have the latest packages by updating the system using apt-get:
1
sudo apt-get update
1
sudo apt-get upgrade
Now that we know that we are running an updated system we can install all the dependent packages that are needed by Metasploit Framework:
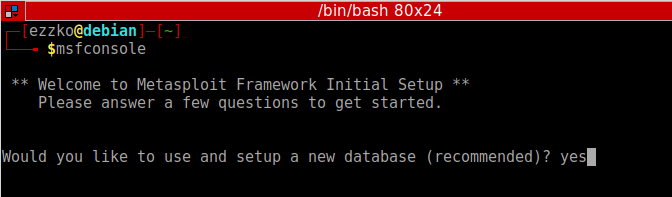
After the installation completes, open a terminal window and type the following to start msfconsole:
1
msfconsole
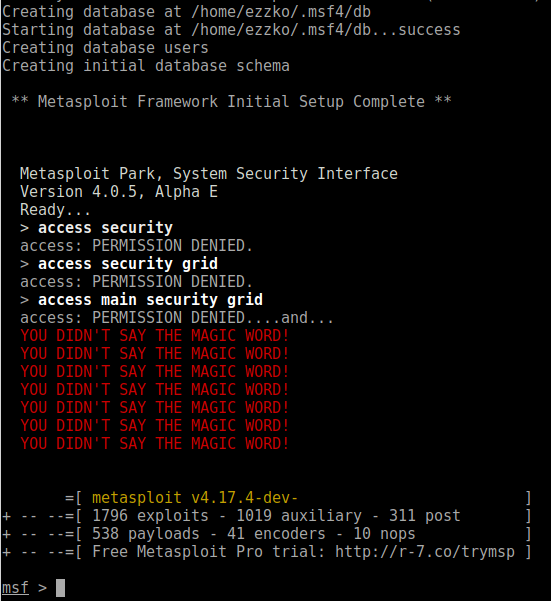
The prompt asks you if you want to use and set up a new database. Type y or yes to run the initial configuration script to create the initial database.
If all goes well, the console starts and displays the following:
To check to see if the database was set up, run the following command:
1
db_status
If the Metasploit Framework successfully connected to the database, the following status displays:
1
[*] postgresql connected to msf
Loading External Modules
If you’re in the business of writing or collecting Metasploit modules that aren’t part of the standard distribution, then you need a convenient way to load those modules in Metasploit. Never fear, it’s pretty easy, using Metasploit’s default local module search path, $HOME/.msf4/modules, and there are just a couple caveats:
Mirror the “real” Metasploit module paths
You must first set up a directory structure that fits with Metasploit’s expectations of path names. What this typically means is that you should first create an “exploits” directory structure, like so:
1
mkdir -p $HOME/.msf4/modules/exploits
If you are using auxiliary or post modules, or are writing payloads you’ll want to mkdir those as well.
Create an appropriate category
Modules are sorted by (somewhat arbitrary) categories. These can be anything you like; I usually use test or private, but if you are developing a module with an eye toward providing it to the main Metasploit distribution, you will want to mirror the real module path. For example:
… if you are developing a file format exploit for Windows.
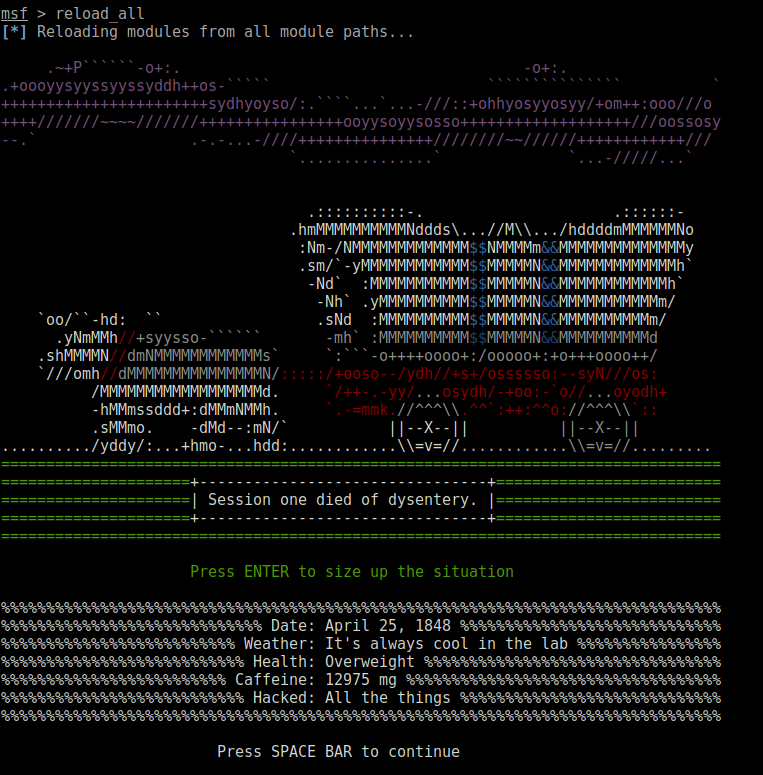
Test it all out
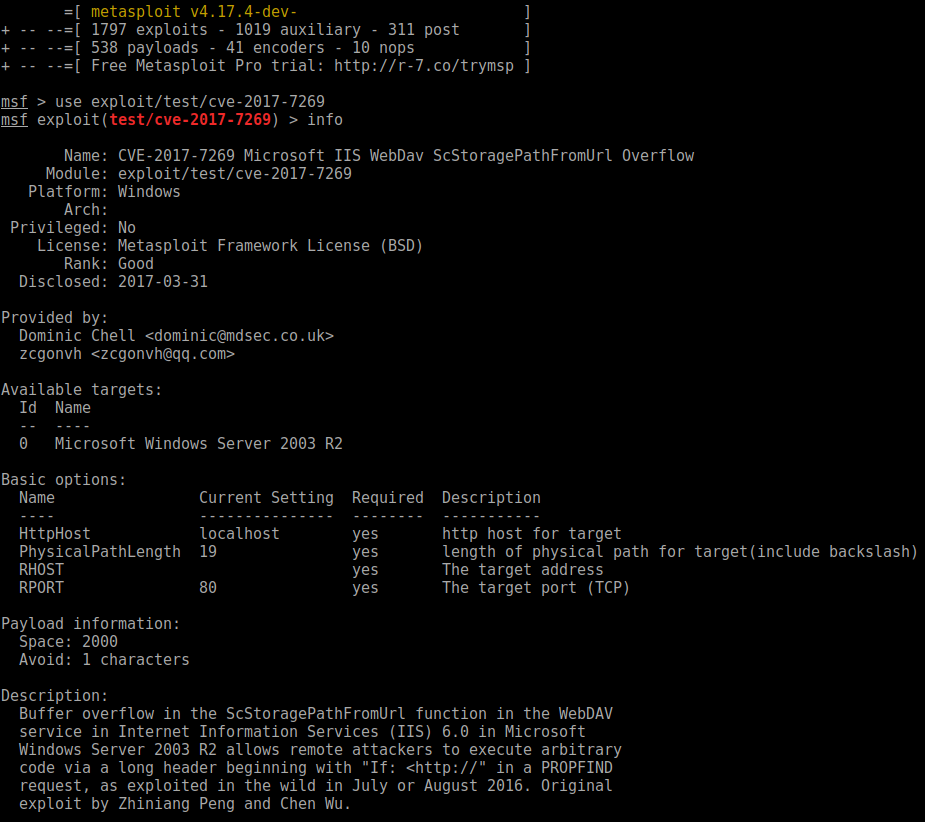
If you already have msfconsole running, use a reload_all command to pick up your new modules. If not, just start msfconsole and they’ll be picked up automatically. If you’d like to test with something generic, I have found a module on his github: https://github.com/zcgonvh/cve-2017-7269/blob/master/cve-2017-7269.rb, so let’s give it a shot:
In case you will get ERROR: The certificate of nordvpn.com’ is not trusted., please install ca-certificates` package with command:
1
sudo apt-get install ca-certificates
If you do not have unzip package installed, download it by typing in:
1
sudo apt-get install unzip
Extract ovpn.zip with command:
1
sudo unzip ovpn.zip
Remove files which will be no longer used:
1
sudo rm ovpn.zip
Depending on the connection protocol you want to be using(TCP or UDP), UDP is recommended, you can do either one of these commands:
1
cd ovpn_udp
or
1
cd ovpn_tcp
9.Now, to see the list of all available servers, simply enter the
1
ls -al
command and it will print full configuration file list. 10. Choose a server which you would like to connect to. This link could help you: NordVPN servers recommended 11. Start OpenVPN with a chosen configuration by entering:
1
sudo openvpn [file name]
For example:
1
sudo openvpn us842.nordvpn.com.udp.ovpn
OpenVPN will ask you for credentials, so simply enter those in with your NordVPN account credentials.
You have successfully connected to VPN. To disconnect from the OpenVPN connection simply open terminal and press Ctrl + C on your keyboard.